Your cut decides how much work these styles take: a chin-length bob dries fast with a scrunch and a little product, while long loose curls ask for soaking-wet gel, no touching until fully dry, and the most detangling on wash day.
Cuts like the shag and curly bangs need a stylist, while the high bun, bubble braids and the ponytail with braids are easy to do at home.
If your curls bunch together, I’d start with the curly shag for its layers; if they just fall in your face, Half-Up, Half-Down is enough.
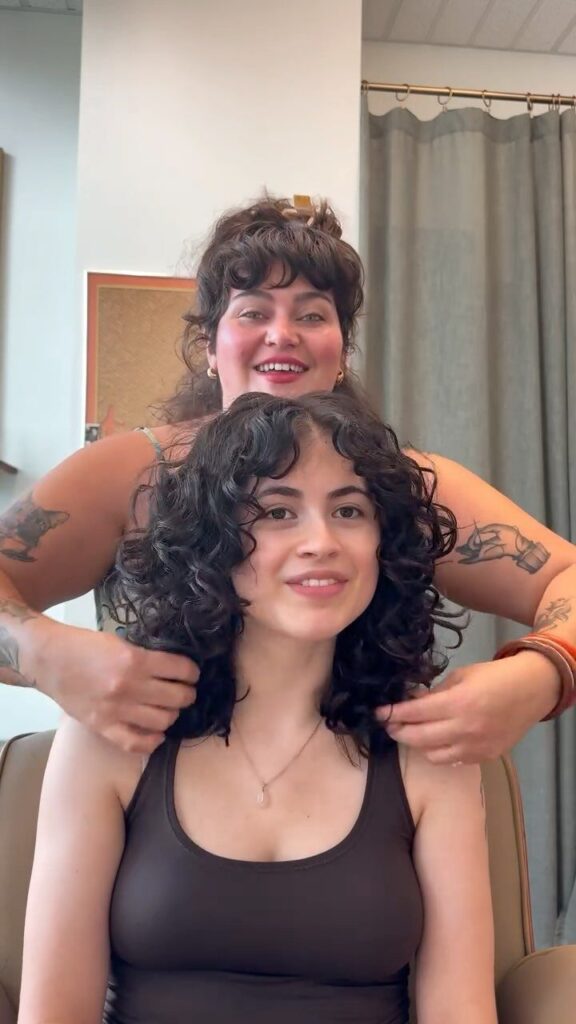
1. Shoulder-Length Cut
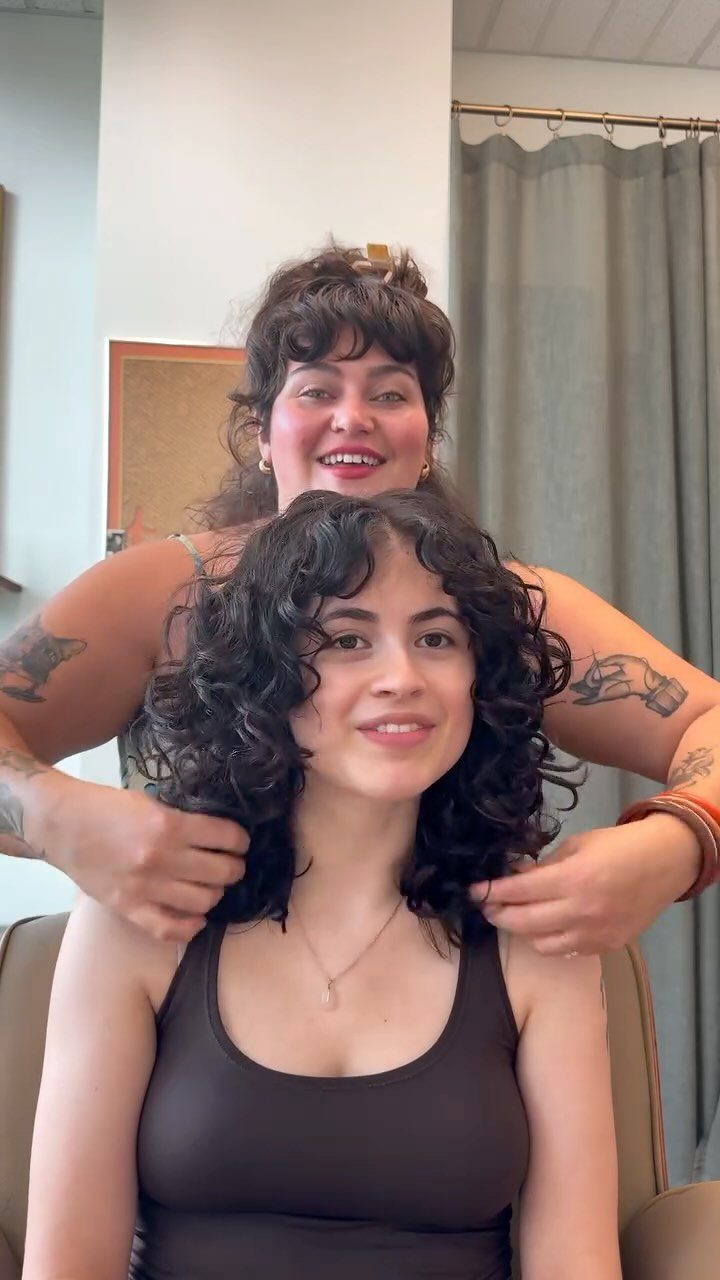
Hair that stops right at the shoulder gives 3A curls room to spring without the weight of length pulling them loose.
It’s a practical length for a busy week, and it works with a ponytail or a clip when you want the hair off your neck.
Ask the stylist to cut the curls dry or while they’re in their natural pattern, so you can see where each one lands. Shoulders can push the ends outward, so book a trim before the shape gets too wide.
2. Curly Shag
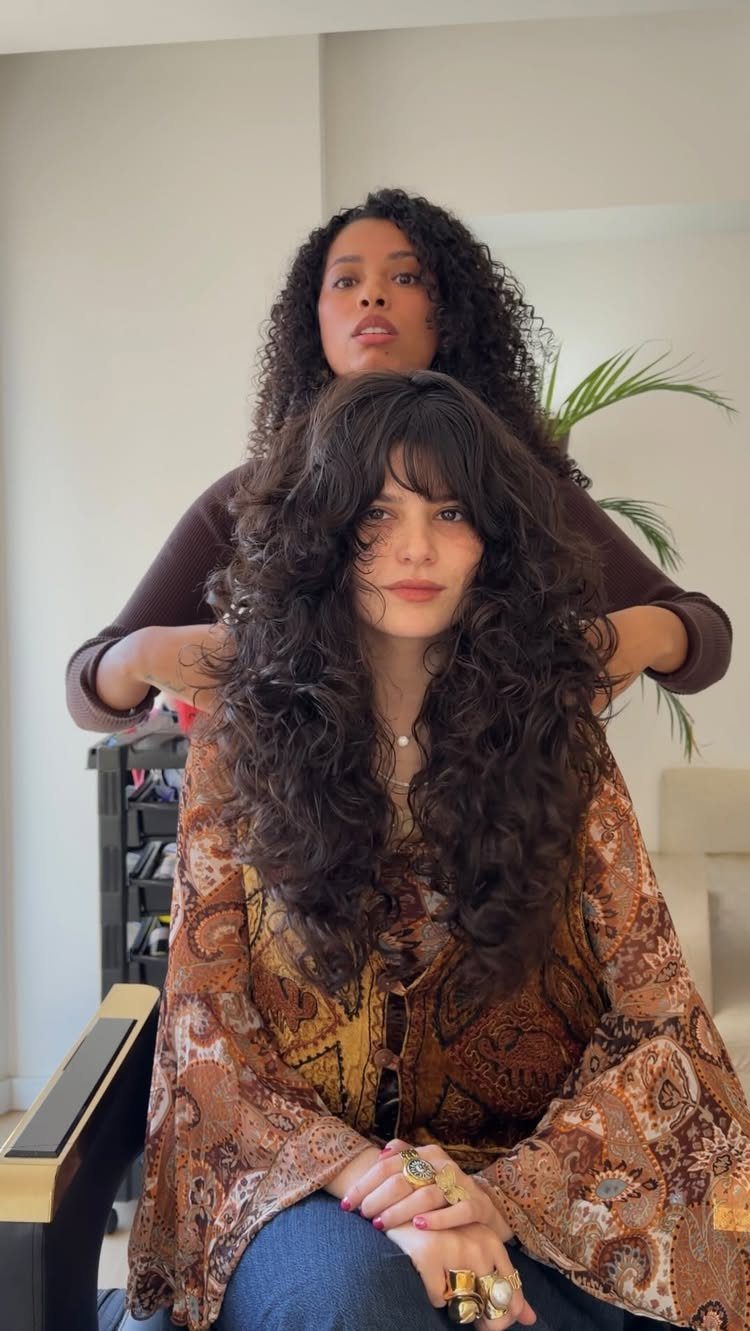
A curly shag is cut in layers, and that’s what gives curls shape and separation instead of one heavy triangle.
The bangs in this version blend into the sides, so the whole cut reads as one soft frame around the face.
Bring a clear reference photo to the salon, since "shag" means different things to different stylists. Because the layers do the styling work, I’d pick this over a blunt cut if your curls tend to bunch together.
3. Chin-Length Curly Bob
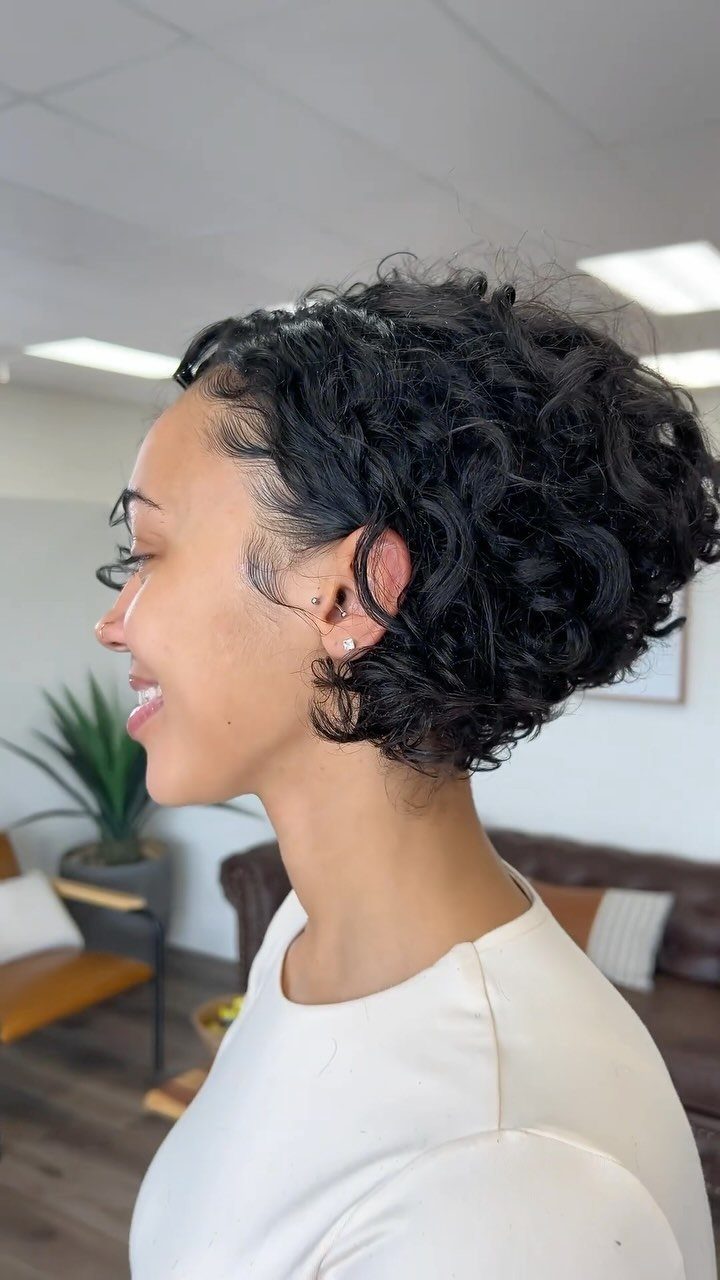
Short and bold, a chin-length curly bob shows off the neck and jaw, and it asks very little of your morning. Curls at this length dry fast and need little more than a scrunch with product.
Curls spring up once they’re cut, so a bob can look shorter than you planned. Tell the stylist you want it at the chin after the curl bounces back, not while it’s stretched.
4. Curly Bangs
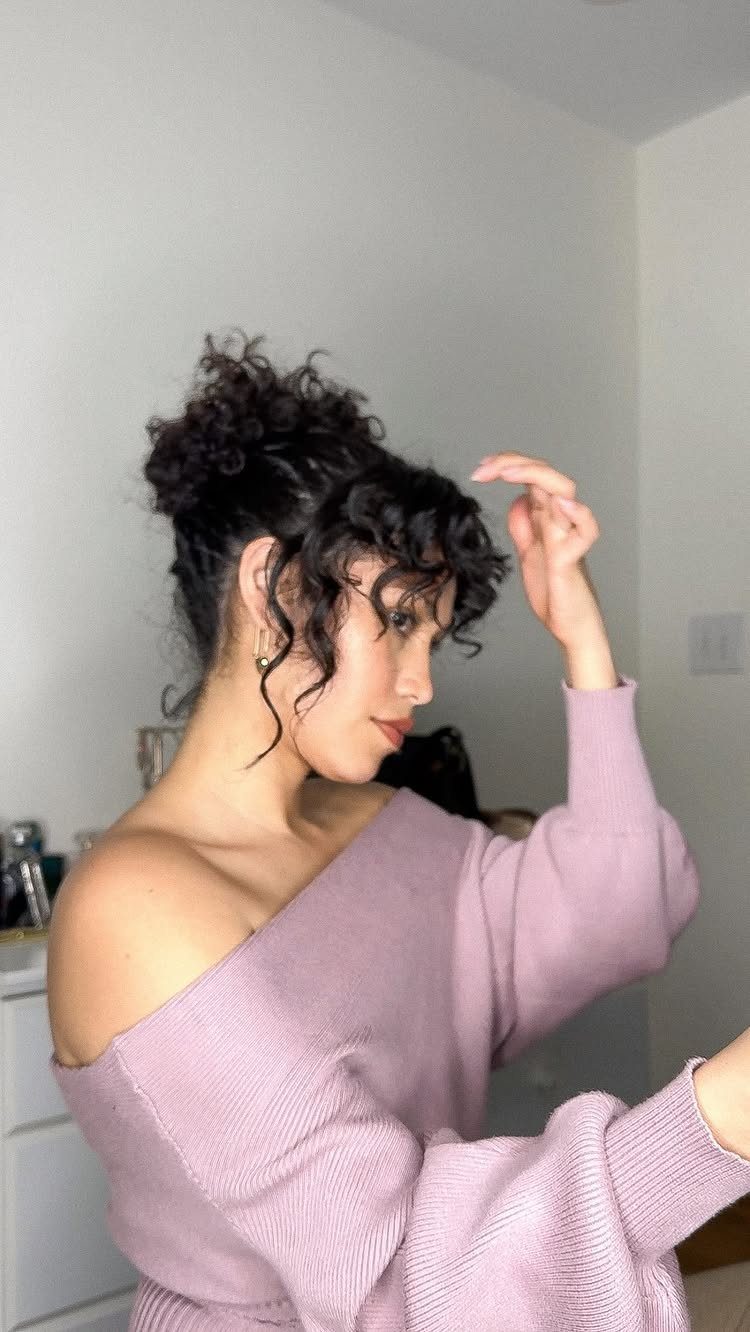
Curly bangs are an easy way to try something new without changing your length.
Curly bangs paired with an updo frame the face and keep the rest of the hair out of the way, which makes the combination easy on busy mornings.
Have the bangs cut dry, curl by curl, because wet hair stretches and then shrinks. Expect to visit the stylist for small touch-ups, and keep in mind that bangs mean a bit more styling on days your curls don’t cooperate.
5. High Curly Bun
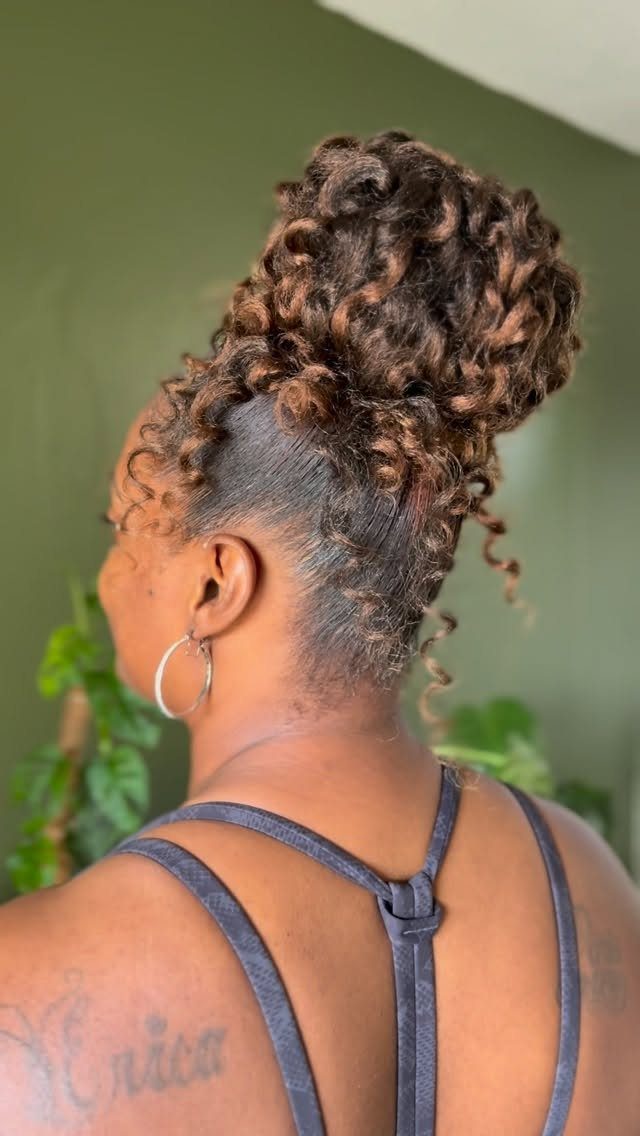
Sleek roots against a loose, messy bun give this style its look: smooth at the top, full and curly at the bun.
Smooth the hairline with a little gel and a soft brush, then gather the hair high and secure it with a scrunchie.
Pull a few curls loose around the bun so it looks relaxed and not stiff. I like this one for second-day hair, since the bun hides curls that have lost some definition.
6. Bubble Braids
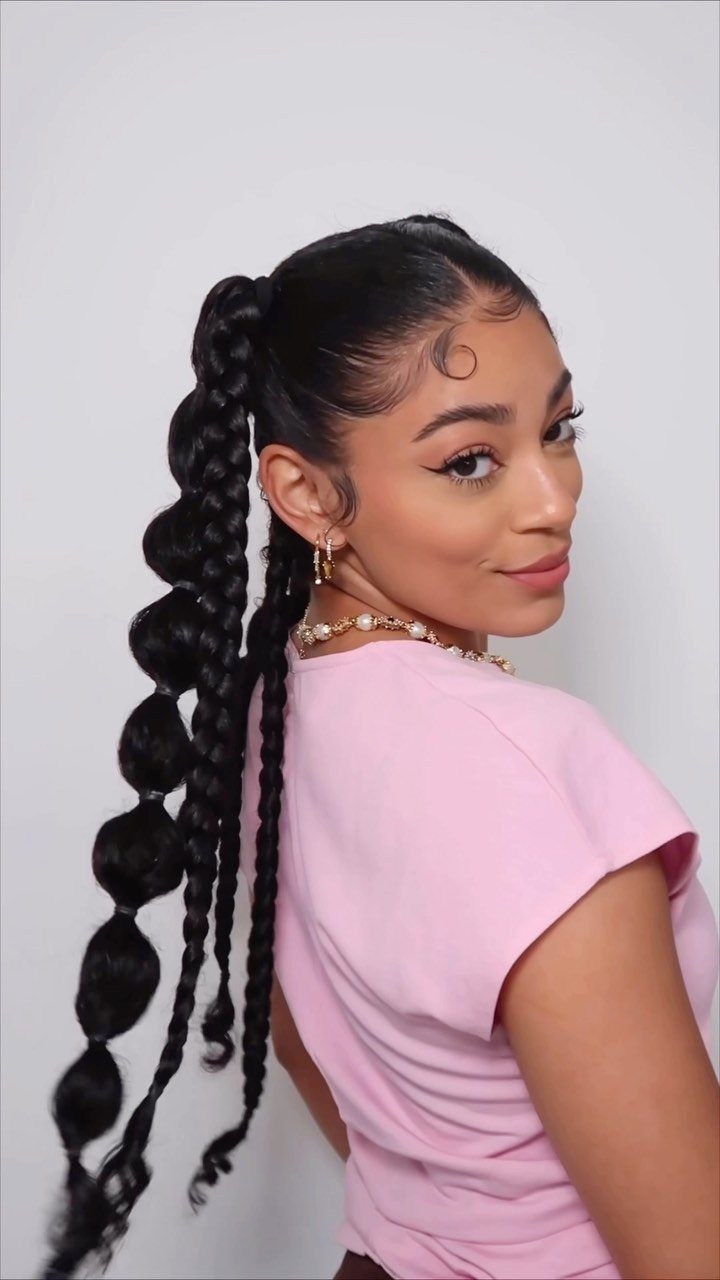
Bubble braids turn a plain high ponytail into something playful. Tie the ponytail, then add elastics down its length at even spaces and gently pull the sections apart so each one puffs into a bubble.
Clear elastics keep the focus on the hair. This style works best with the ponytail pulled tight and the bubbles fluffed gently, and 3A curls hold the puffy shape well because they have natural body.
7. Soft Curly Double Buns
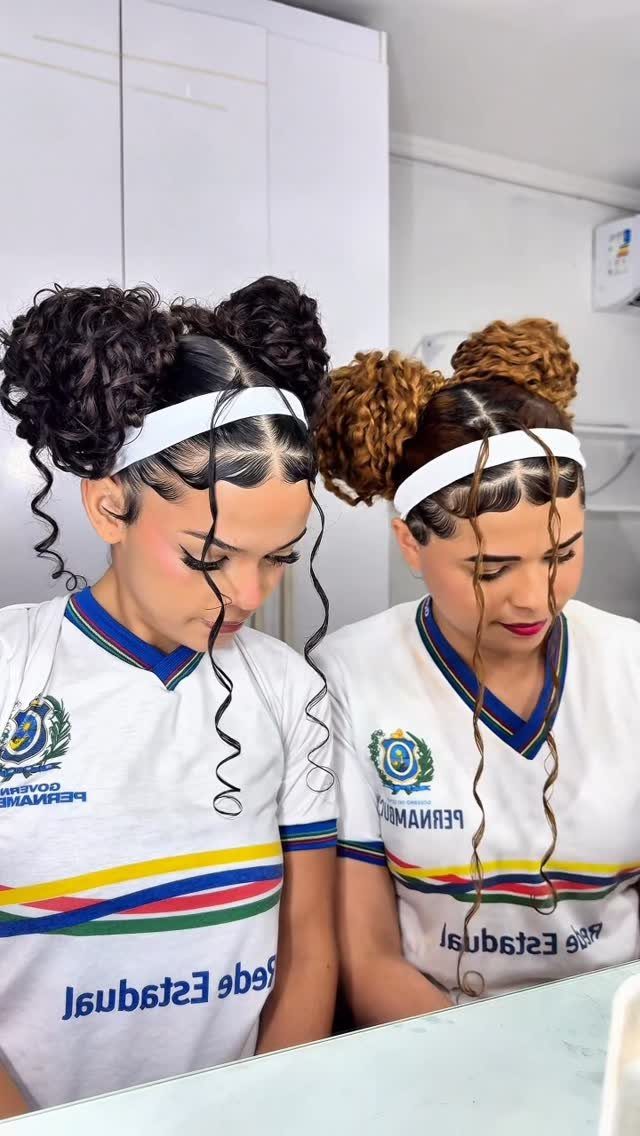
2 buns sit higher on the head than most people expect, and on 3A curls they read as soft puffs instead of tight knots.
A wide headband, especially a white or cream one that reads as an accessory, covers the part line and holds the front flat while the buns stay full and soft.
Split the hair down the middle and gather each side loosely, so the curls stay full. Pull a few strands free for volume, since the point of this version is fluff, not polish.
8. Half-Up, Half-Down
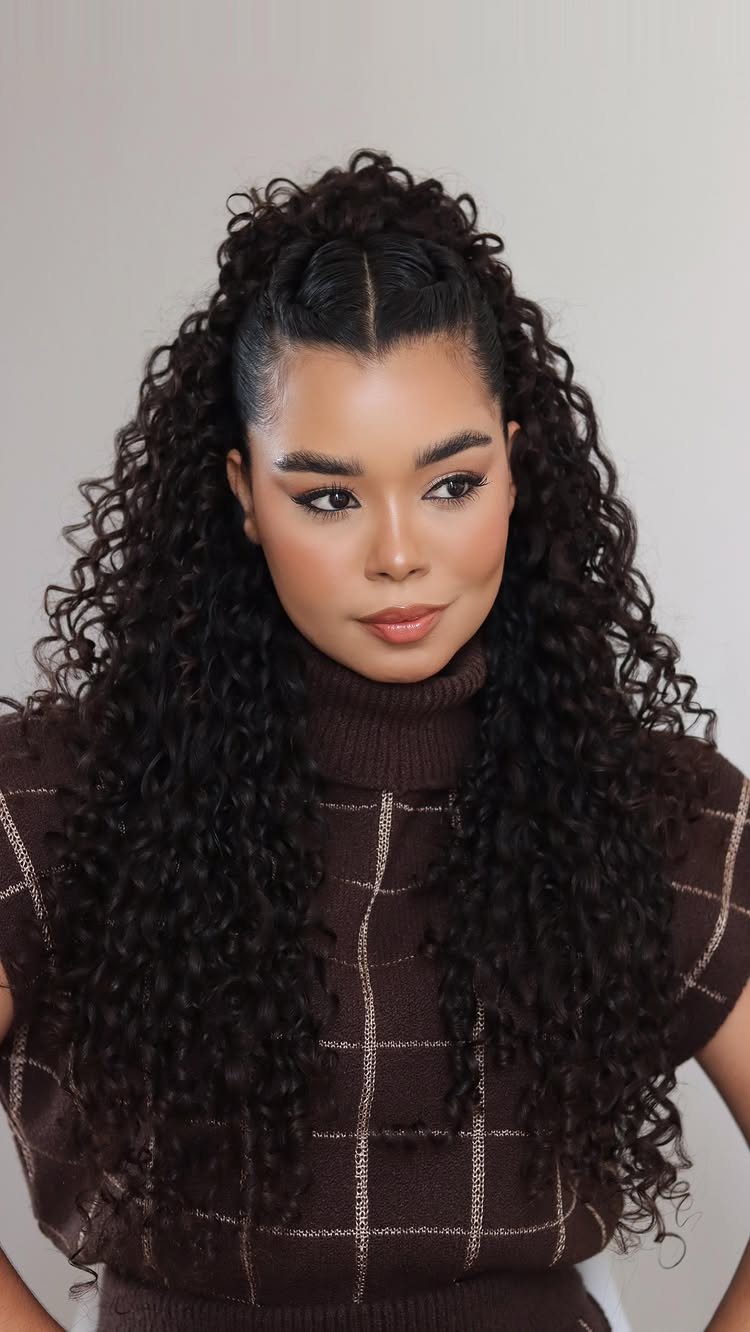
Half-up, half-down keeps length and volume while clearing the face. Gather only the top section into a ponytail and leave the rest of the curls loose below it.
Because the lower curls stay untouched, you skip restyling the whole head. I’d choose this on a day when your hair looks good but keeps falling into your eyes.
9. Cornrows Into Low Bun
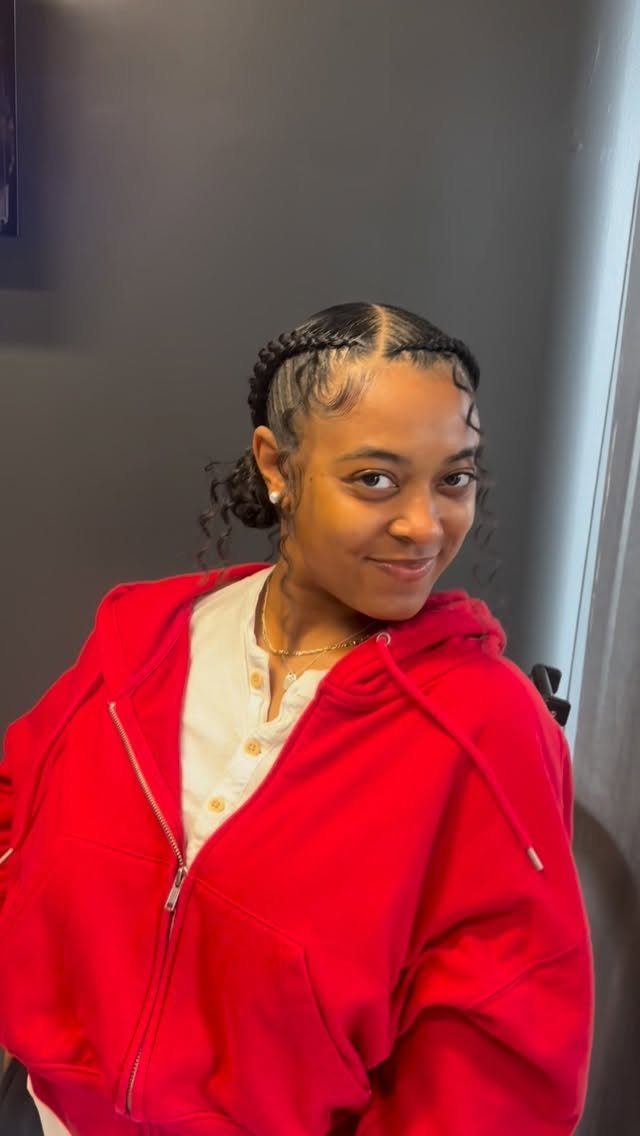
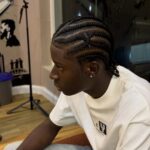
2 stitch braids run along the top of the head, and the maker of this style says they lead into a bun with curls.
Stitch braiding means adding hair into each braid as you go, which keeps them flat against the scalp.
Gather the braid ends and the remaining hair into a low bun at the back, then let some curls out of it. Braids this tight are the part to leave to a stylist if you haven’t done them before.
10. High Curly Ponytail with Braids
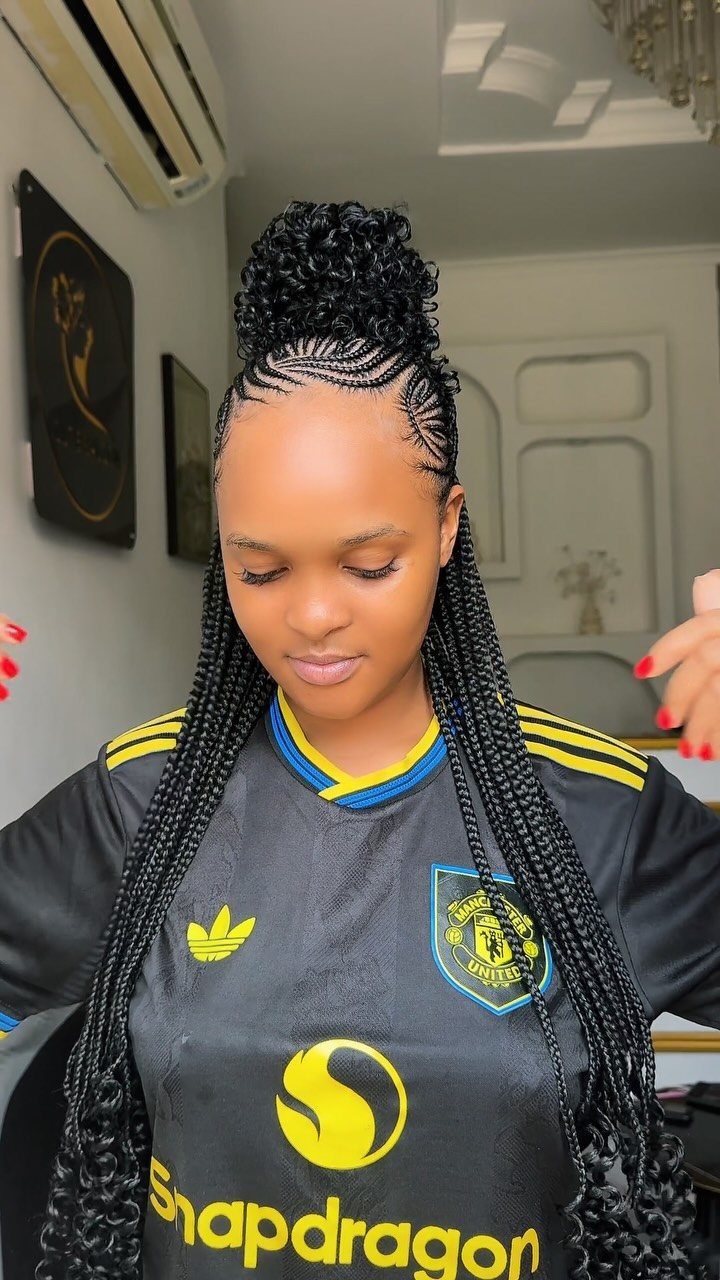
Pull the curls into a high ponytail, then keep a few thin braids loose so they fall forward over the shoulders. The braids add length and contrast against the round texture of the curls.
Braid before you tie the ponytail, so the braids come out of the hair at the right spot. Long thin braids can tangle, so I’d finish each with a small elastic.
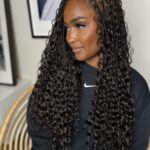
11. Long Loose Curls
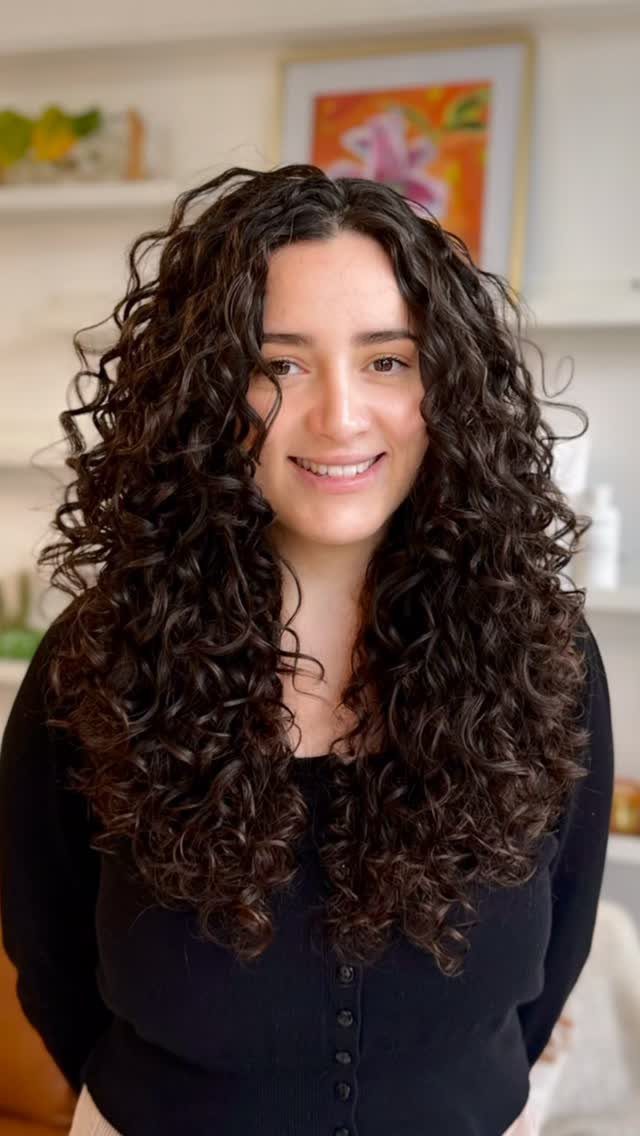
Worn down and left alone, long 3A curls need little more than good moisture and a light hand.
Work your gel or cream through soaking-wet strands, scrunch each section up toward the scalp, and then leave it alone until it’s fully dry, because touching it early breaks up the curl clumps and brings frizz.
Length pulls curls looser at the top, so a trim with some layers keeps the shape lively. This is the lowest-effort style on the list, though it does mean the most hair to detangle on wash day.
Caring for 3A Hair
3A curls run drier than they look, and that dryness shows up as frizz and breakage.
Hydration does the most work here. Leave-ins, masks, and a pre-shampoo treatment all help, and a sulfate-free shampoo keeps you from stripping the oils you just added.
I wash 3A hair about once a week, since shampooing more often strips the natural oils these curls depend on. Learn your hair’s porosity too, since it tells you how much moisture your routine needs to deliver.
At night, pile the curls loosely on top of your head (the pineapple) to cut down on frizz while you sleep.
A wide-tooth comb is the right tool for detangling, and a brush should stay away from dry curls because it breaks up the clumps.
Keep a curl-refreshing spray on hand for touch-ups between washes.
“3A is a round, loose S-shape curl with fine to medium texture,” shares curly hair expert and Schwarzkopf Professional ambassador Brendnetta Ashley. “It also has a minimum volume.”
— Vogue
Styling Techniques
Scrunching, plopping, and diffusing each give a different result, and density and length decide which one suits you. Test them one at a time so you can see what changed.
Start with soaking-wet hair and compare it with damp styling.
Wet application tends to give more defined curls, while damp gives a fluffier finish. Pick whichever matches the look you want that day.
Plopping and air drying use no heat, so they protect curl definition and keep frizz down. A diffuser adds volume when you’re short on time.
Whichever method you choose, shape the curls with your fingers and then leave them alone while they dry.
Product Recommendations
Choose formulas made for curly hair and skip anything with sulfates or harsh ingredients.
A moisturizing conditioner made for curls is the first product to buy. Comb it through with a wide-tooth comb in the shower while it’s still on your hair, which spreads it evenly before you rinse.
Next comes a curl cream or curl definer, which keeps definition going all day. A lightweight mousse is a good pick if creams weigh your fine strands down.
On humid days, a drop of shine oil adds gloss and a bit of frizz control. Use a small amount, since too much will flatten fine curls.