The range covers soft honey and caramel blends that grow out without a harsh line, plus face-framing pieces that need more frequent touch-ups right at the front. How much salon time you’ll tolerate decides which one is yours.
Caramel balayage stretches the time between appointments better than the brighter, more concentrated options, and any lightened section needs a regular deep conditioner, since lightening takes some moisture with it.
1. Golden-blonde Highlights
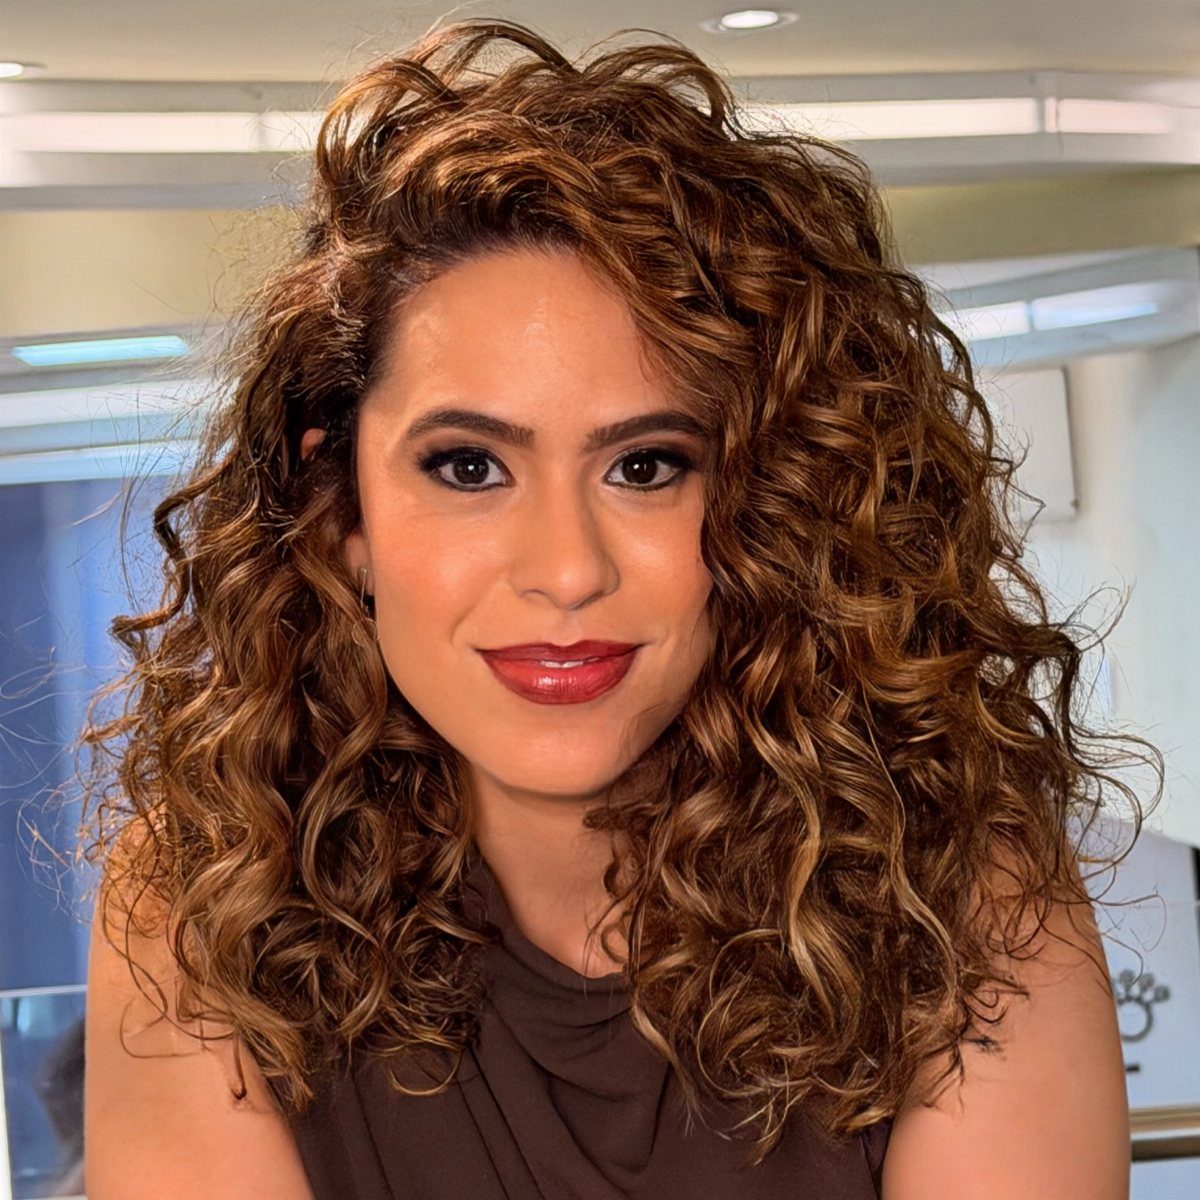
Golden-blonde highlights on brown curls work best when they’re concentrated rather than scattered, because the brightness reads as sun-kissed instead of striped. Curls make that easier: each ringlet shows a different band of color as it twists.
Ask your colorist to cluster the gold in a few sections instead of weaving it evenly through everything. A brown base left visible between the bright pieces keeps the look natural and gives it depth.
Gold is warm, so it suits olive and golden skin especially well. Lightening costs you some moisture, so I’d budget for a deep conditioner.
2. Honey-blonde Highlights
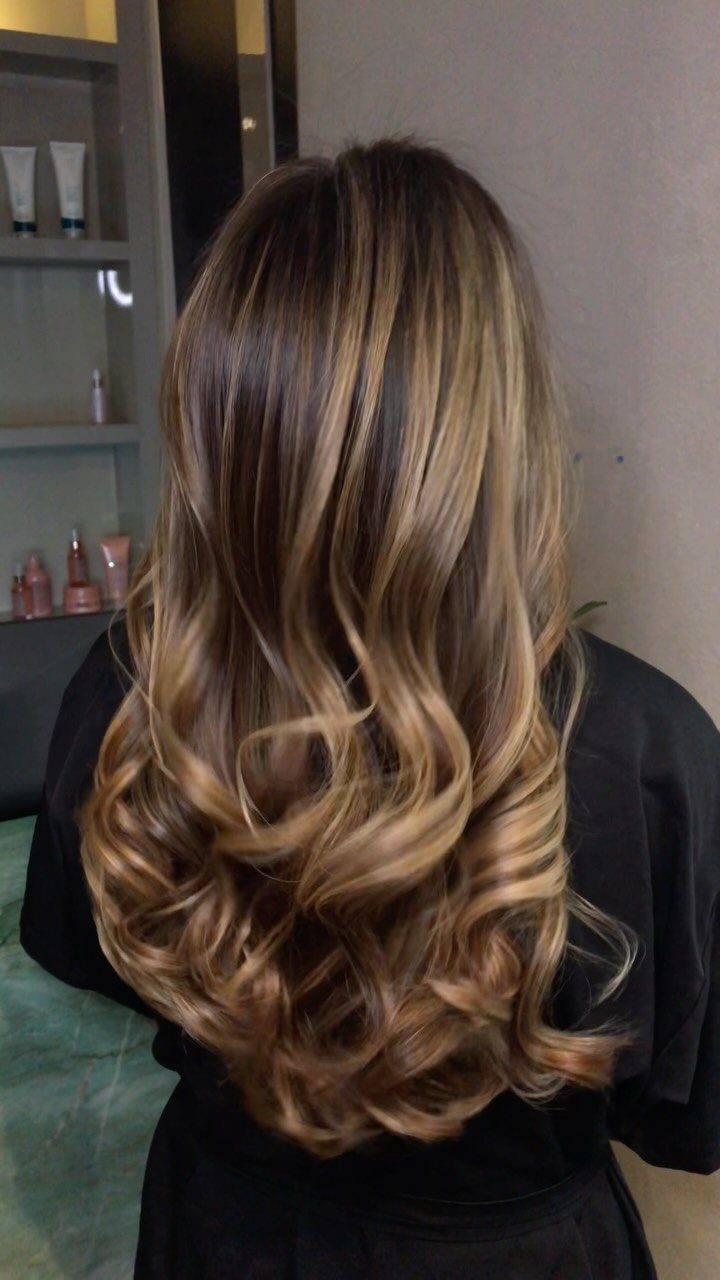
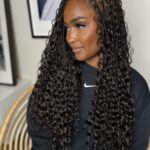
Dark brown curls can look flat in a photo and heavy in real life, and honey-blonde highlights fix both. The golden-brown tone adds dimension and makes the volume look deliberate.
For my money, this is the safest first step into highlights. Honey sits close to brown, so the contrast is soft and the grow-out is forgiving.
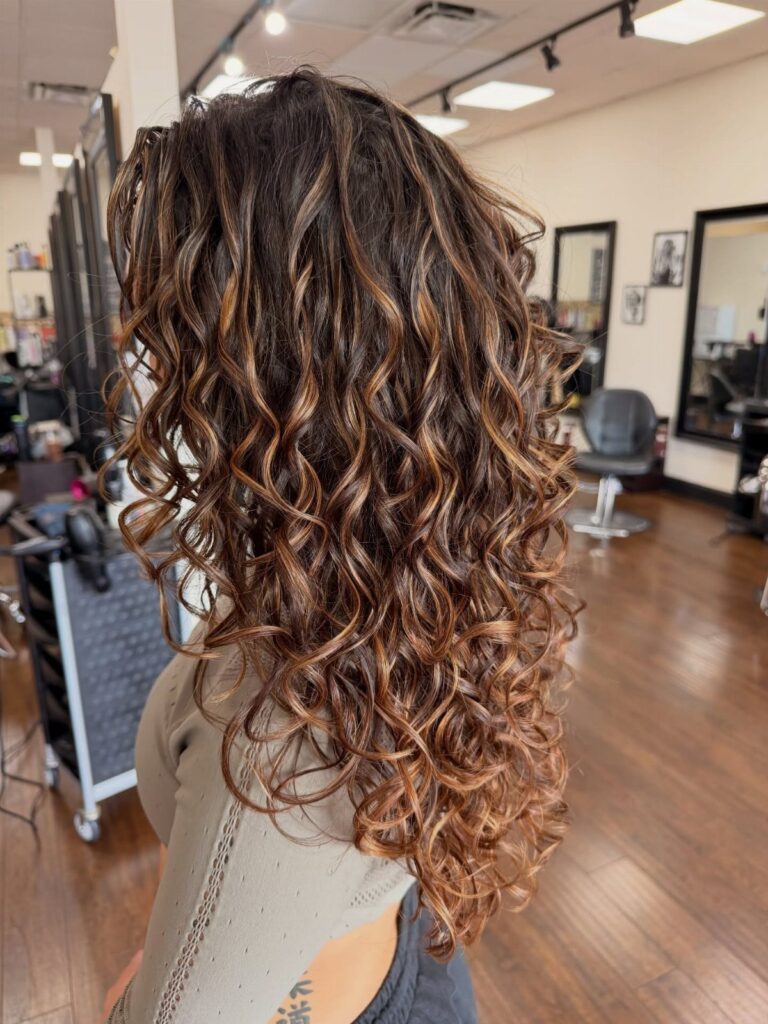
Ask for pieces slightly lighter than your base instead of a dramatic jump. Long waves show the effect best, since there’s more length for the color to travel through.
3. Caramel Balayage Highlights
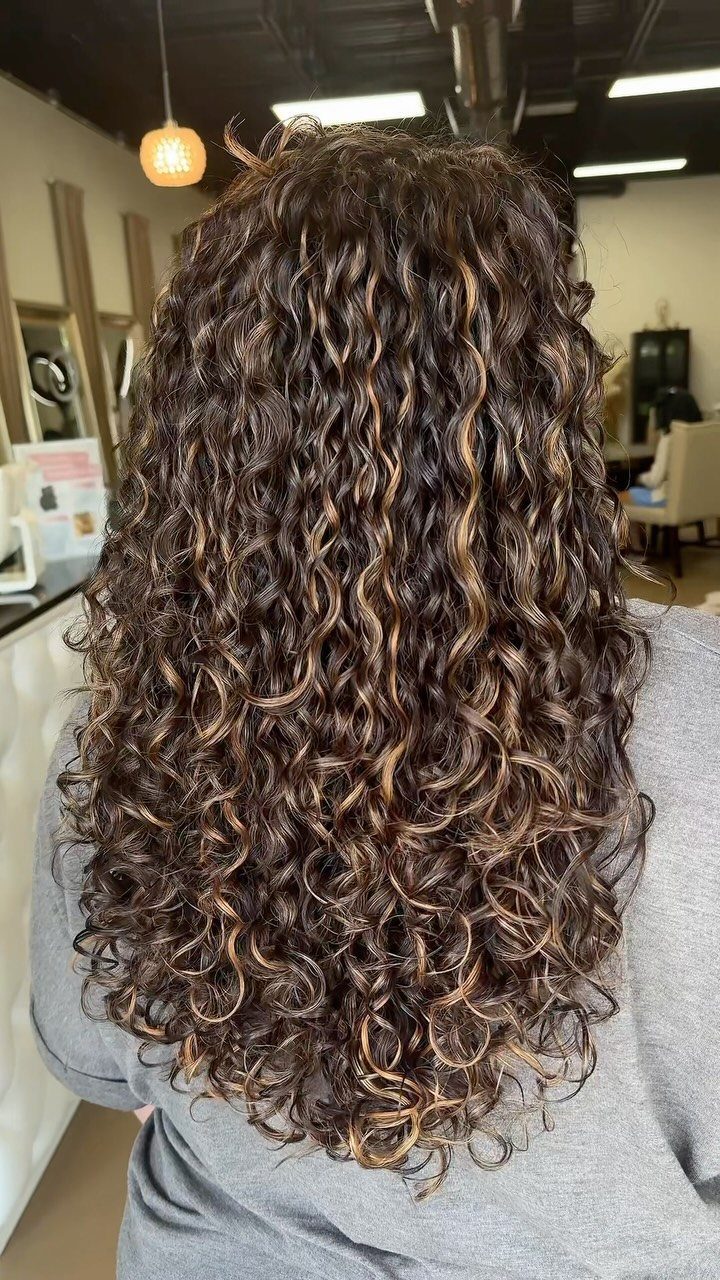
Caramel balayage is painted by hand, which is why it suits curls so well: the color follows the curl pattern instead of fighting it.
Ask for warm caramel tones spread throughout rather than one bright block at the ends. That distribution is what keeps it looking natural, and it grows out without a harsh line at the root.
If you dislike salon visits, this is the one I’d pick, since the soft blend grows out without a harsh line. Because the color blends softly, you can go longer between appointments than with bolder placements.
4. Face-framing Highlights
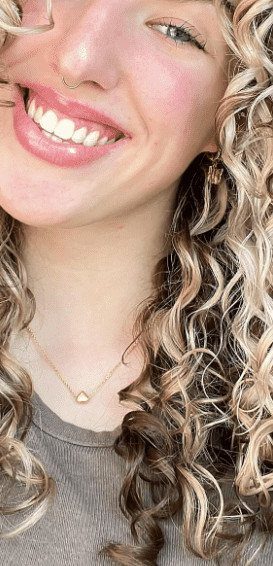
Brightness placed right at the face does more than lightening the whole head, and it costs less color. Blonde face-framing pieces catch light exactly where people look first.
Tell your colorist where your curls fall when dry, since curls spring up and shift the placement from what you see wet. I’d keep the blonde bright and the rest of the brunette untouched for contrast.
Upkeep is the cost: the front sections show regrowth and fading first, so those are the pieces you’ll want touched up.
5. Medium Chestnut Curly Layers
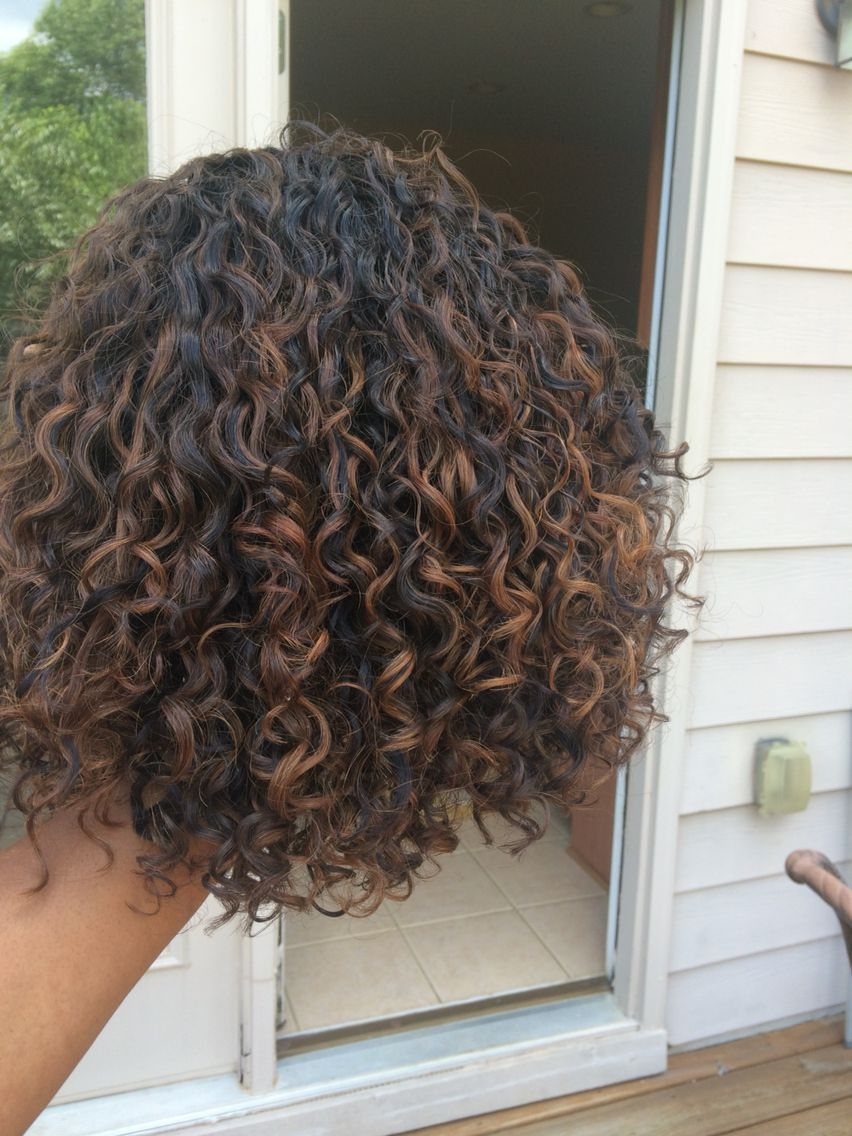
Honey-blonde highlights on shoulder-length curls are the version of this color I find easiest to live with day to day. Short enough to dry quickly, long enough to show the layers and the shape of each curl.
Ask for textured layers so the curls stack instead of forming a triangle. The honey tone then lands on different levels and adds depth.
Chestnut is a good base for this: warm enough to flatter the honey, and it keeps the overall look brunette.
6. Long Layered Curly Hair
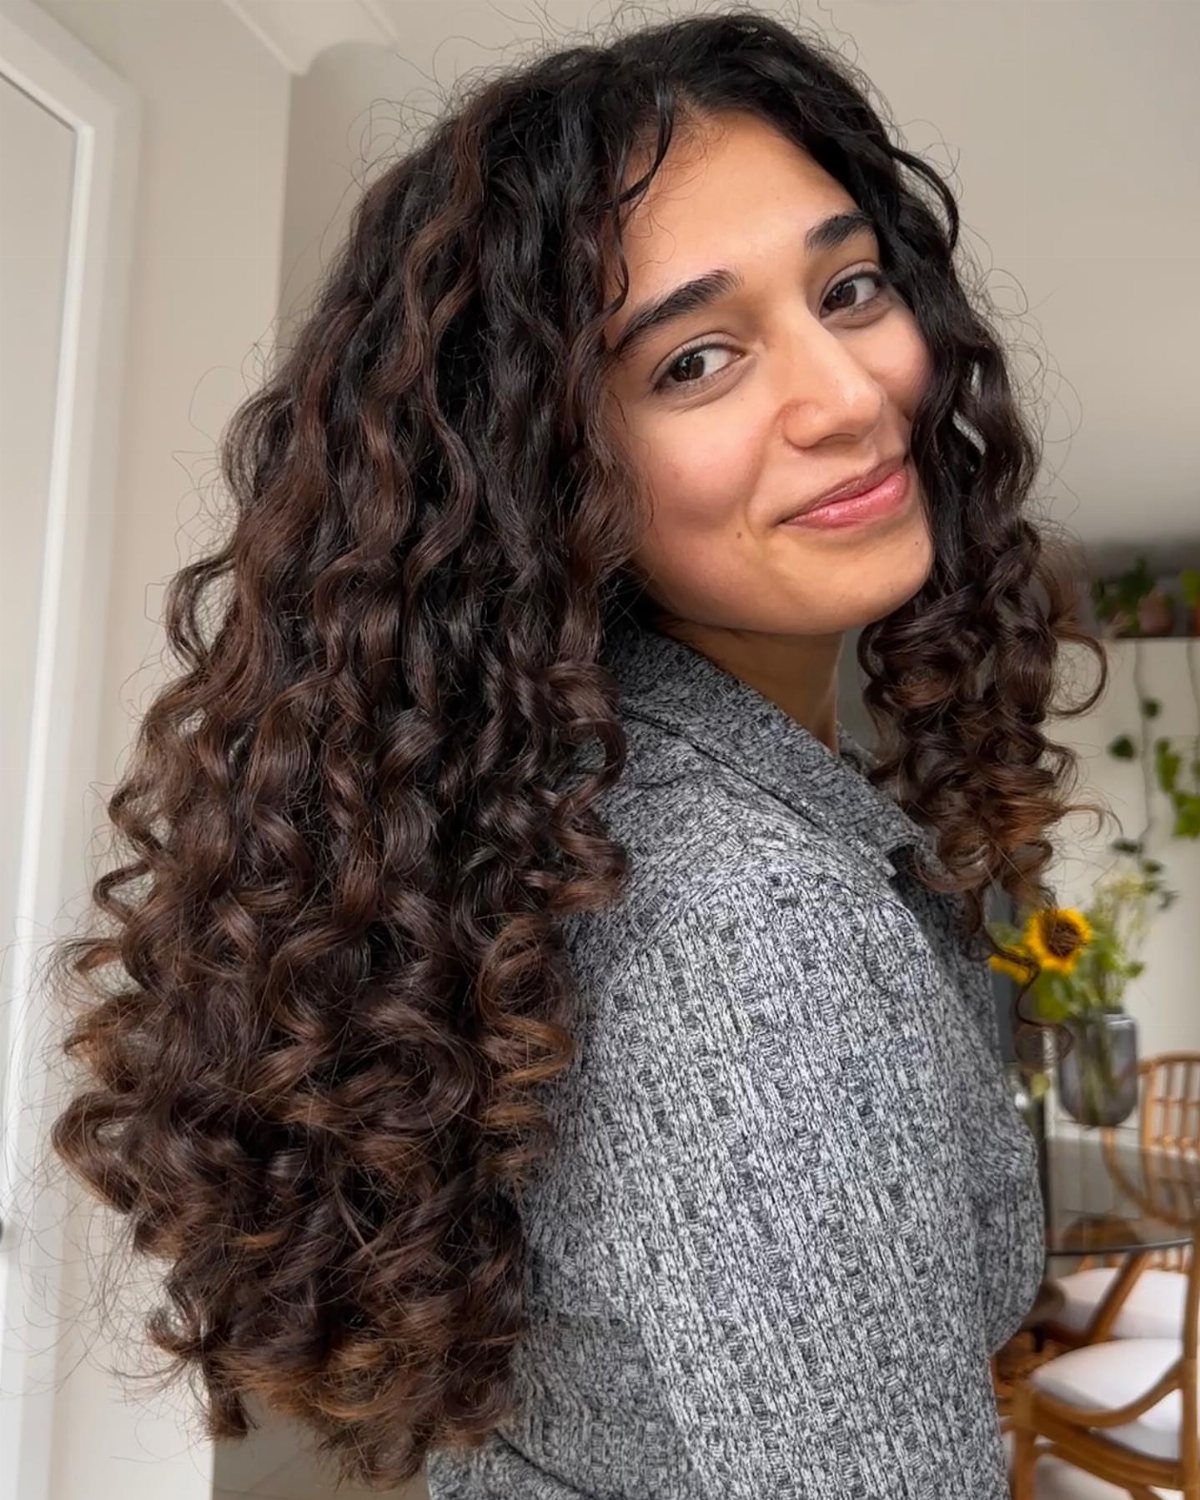
Length gives curls weight, and weight can pull them straight at the top. Layers fix that, lifting the crown and letting long curls spring back.
I’d ask for layers that start around the cheekbones or chin so they frame the face. Keep the highlights subtle and warm, since long hair already carries plenty of visual interest.
Dark brown with soft warm pieces looks polished and needs less upkeep than a bright blonde. Cut it dry if you can, so your stylist sees how each curl really falls.